
Most hardwood floors in older Western MA homes do not need a full tear-out when damage appears. A targeted repair of the affected area, followed by refinishing, can restore the room at a fraction of the cost. This guide covers how to assess damage, replace boards, blend new wood into old, and protect the results.
Quick Answer: When Partial Hardwood Floor Repair Makes Sense
Many homes in Agawam, Springfield, and across Western Massachusetts have solid hardwood installed between the 1920s and 1970s. These floors are typically 3/4-inch-thick oak, maple, or pine, nailed into plywood or plank subfloors. When damage is limited to 1 through 20 boards, or a few square feet, from water, pet stains, or heavy furniture, board-by-board replacement and room refinishing is almost always viable. Repairing hardwood floors is usually cheaper than replacement, and solid hardwood can be sanded and refinished multiple times, while engineered hardwood should be treated with more care during sanding.
Partial hardwood floor repair works best when the subfloor is still solid and the majority of the existing floor is structurally sound. The main challenge is matching replacement boards to wood that has aged for decades under sunlight and old finishes. Repair methods vary based on whether the damage is cosmetic or structural; surface scratches call for a different approach than rotted or buckled floorboards.
Expert Flooring LLC, based in Agawam, MA, specializes in partial repairs and refinishing rather than full tear-outs, offering free estimates to homeowners throughout the Pioneer Valley.
Understanding Hardwood Floor Damage (What You Can Fix in Sections)
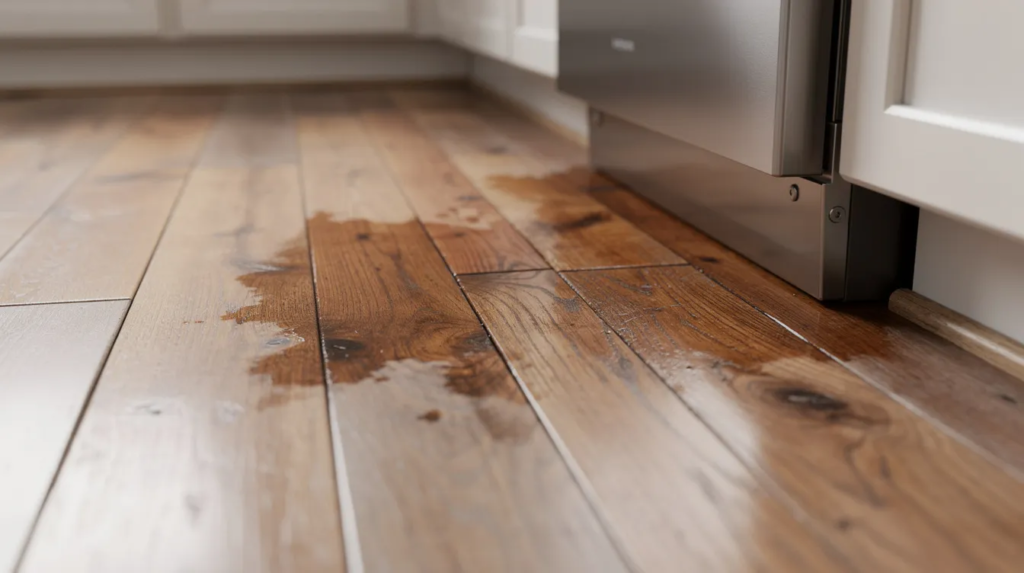
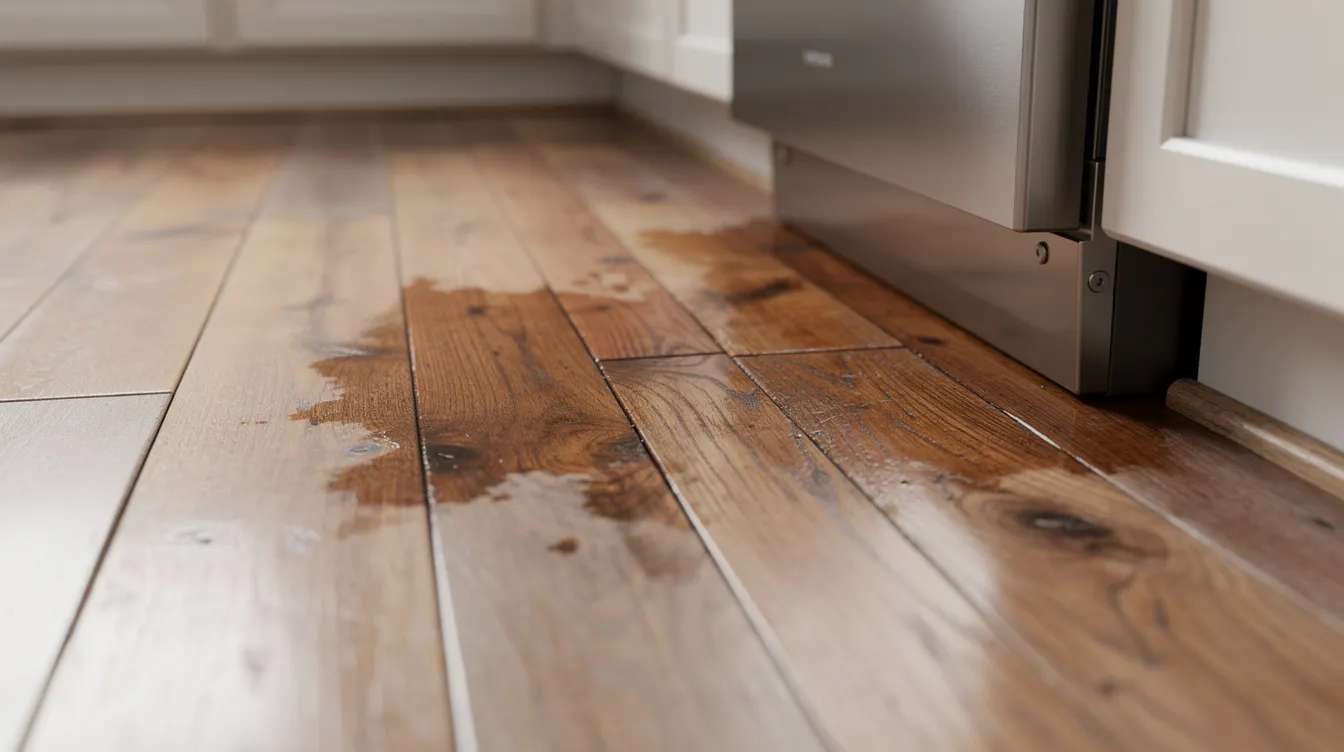
Pioneer Valley homes develop predictable damage patterns. Water stains appear near refrigerators and dishwashers. Pet-urine stains blacken dining room boards. Finish wears off in high traffic hallways. Cupped or warped boards form near exterior doors exposed to rain and snowmelt.
To repair hardwood damage, assess the depth and size of the affected area and determine the best method. The method for repairing hardwood flooring depends on the type of damage and size of the area affected:
- Surface wear and minor scratches: Finish worn off in high traffic areas can often be addressed with light sanding and a new protective finish. Small scratches can be repaired with wood filler applied with a putty knife.
- Gouges and dents: Deeper gouges can be fixed using a professional glue gun repair kit, filling the void and sanding flush.
- Water damage: Water damage can cause hardwood to sag or rot. Remove standing water promptly to prevent further damage. Water damage often requires replacing the affected boards. Inspect for mold after water damage to ensure safety.
- Sun discoloration: South-facing windows can bleach or darken boards over decades, making a matching piece harder to find for a seamless blend.
Map out the damaged area by counting boards or measuring square footage. If fewer than 25% to 30% of the boards in a room need work, a partial hardwood floor repair is the practical choice.
Partial vs. Full Replacement: How to Decide
Most solid hardwood floors installed from the 1940s through the 2000s are thick enough to sand and refinish two or three times, making full replacement a last resort. Sanding and refinishing can address minor warping issues, and a room-scale refinish after patching damaged sections restores a uniform look.
Repair hardwood floors in sections when:
- Damage is confined to one room or a small area
- The subfloor is dry and structurally sound
- Enough wood thickness remains for sanding (at least 1/4 inch of face wood above the tongue)
Consider replacing the entire floor or whole floor when:
- Water damage often necessitates full floor replacement if it spans multiple rooms
- Extensive damage may make replacement more cost-effective, especially if the boards have already been sanded two or three times since the 1980s
- Repairs can be costly if many imperfections exist across every room
In many Western MA homes, it is more cost-effective to fix damaged sections and refinish one room than to replace all hardwood flooring. Get at least one professional opinion if the floor is over 60 years old or if damage traces back to past plumbing or roof leaks.
Tools and Materials for Board-by-Board Hardwood Floor Repair
Before starting any repair job, gather the right tools and safety gear. Safety gear includes safety glasses, a dust mask, and work gloves. Old finishes can contain lead; fine dust from sanding is a respiratory hazard.
Tools for single-board replacement:
- Cutting tools required are a circular saw and a utility knife
- Pry tools include a small pry bar and a hammer
- Sharp chisel for cleaning edges
- Nail set, tape measure, shop vacuum
- Moisture meter (acceptable range for solid hardwood: 6% to 9% MC)
Materials:
- Matching hardwood planks should match the species, thickness, width, and grain of the existing floor (e.g., 2-1/4-inch red oak strip)
- Flooring nails or screws
- Wood flooring adhesive is used when installing over a subfloor that requires it
- Wood filler, sandpaper, and matching floor finish round out the finishing supplies
- Stain and protective finish; water based polyurethane yellows less than oil based polyurethane over time
Confirm that your replacement board’s tongue-and-groove profile and thickness match the existing floor before cutting anything.
Step-by-Step: Replacing Damaged Hardwood Boards in an Existing Floor
These steps describe a common repair process for solid hardwood floors where one to five boards are being replaced. The work is time consuming but straightforward with preparation.
1. Remove damaged boards. To replace a damaged board, cut it out carefully. Use a circular saw set to the board’s thickness to make relief cuts down the center, then use a sharp chisel and pry bar to remove the pieces. Pull old nails with pliers. Avoid cutting into surrounding boards.
2. Prep the subfloor. Clear debris and remove dirt from the opening. Inspect for moisture damage before installing new wood if the flooring has water damage. Confirm the subfloor is solid with no soft spots or rot. Mark joist locations if you plan to nail into them.
3. Fit replacement boards. Cut new boards to length. If a board sits in the middle of the floor, remove the bottom lip of the groove so it can drop into place. Dry-fit to ensure the board sits flush with the surrounding floor. The wood species and grain should be the same type as the original.
4. Fasten. Apply a thin bead of wood glue along the groove edge. Blind-nail through the tongue where possible, or face-nail in tight spots. Set nails slightly below the surface with a nail set.
5. Sand and level. Lightly sand the repaired area so the new board sits even with the surrounding boards. Sanding removes the old finish from hardwood floors and prepares the surface for stain. Wipe with a tack cloth to remove dirt and dust before finishing.
Blending New Boards Into an Old Floor: Matching Color and Sheen
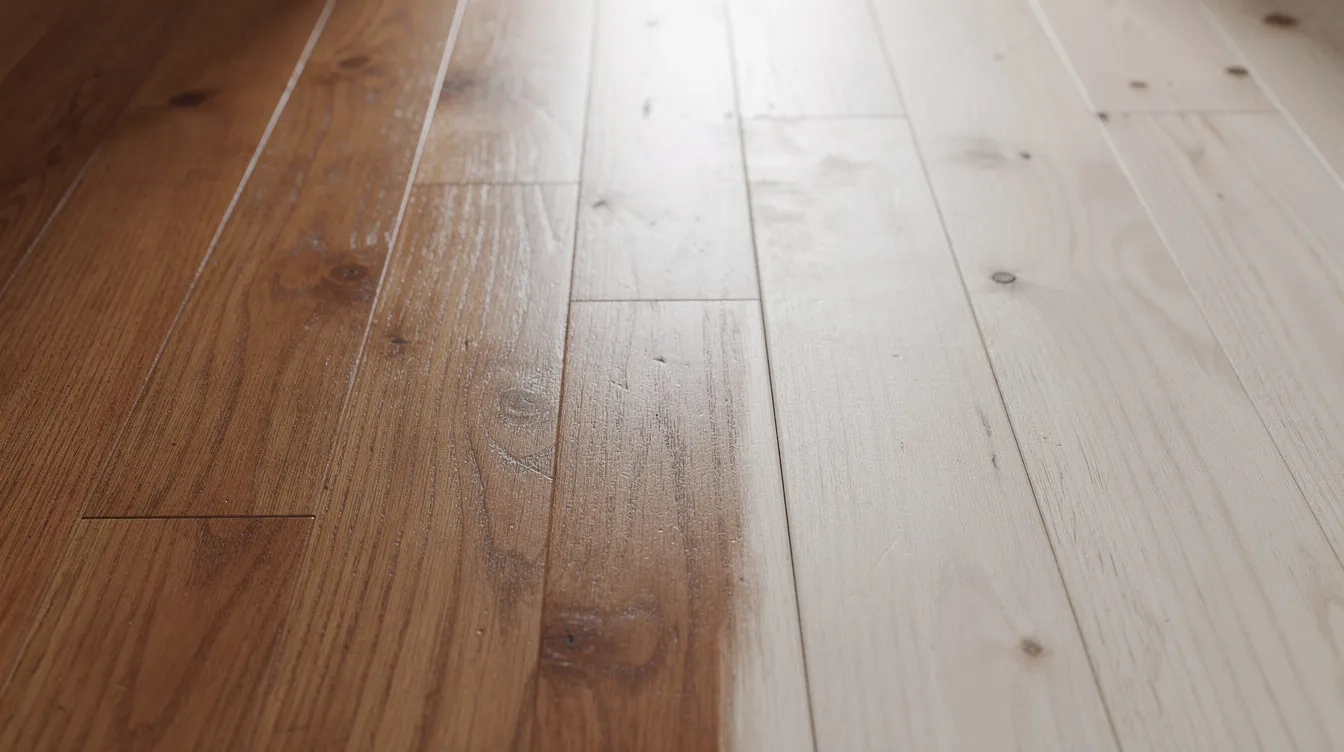
In older New England homes, new boards almost never match the aged color of the existing floor straight out of the box. Original red oak or maple installed in 1955 and exposed to decades of sunlight will be darker and more amber than fresh lumber. Old oil based polyurethane finishes add a warm yellow tint that new wood lacks.
The typical professional solution: after installing replacement boards, sand the entire room so old and new boards are bare wood, then stain and apply a new finish across the whole surface. Staining enhances the color and appearance of hardwood floors. Sealing protects hardwood floors from moisture and wear. Refinishing typically requires sanding, staining, and sealing; together, these steps can restore hardwood floors to like-new condition.
Sanding and refinishing may be needed for discolored areas even when boards are structurally fine. Water-damaged hardwood often requires board replacement followed by a full-room refinish to blend the sanded area with the rest of the floor.
Spot-only finishing; refinishing just the repaired board; will almost always leave a visible sheen or color difference. An exact match is rarely possible without refinishing the larger area. Expert Flooring LLC handles board blending in older Springfield and Agawam homes, explaining this during the free estimate so homeowners know the scope before work begins. You can see examples of past blend work in their portfolio.
Targeted Repairs in High Traffic Areas
Front hallways, kitchen work zones, and paths between the living room and bedrooms wear out faster than the rest of the floor. In high traffic areas, finish erodes and bare wood begins to gray or splinter. Near exterior doors, salt and sand grind into the surface each winter.
Options for these zones:
- Sand lightly and apply a new protective finish on only the traffic lane (faster, but the sheen difference will be visible against untouched areas)
- Sand and refinish the entire room for a uniform result
- Fill minor scratches and dents with compatible wood filler using a putty knife, then touch up with stain (works best on low-sheen finishes)
Partial hardwood floor repair in heavy traffic lanes can extend the life of the whole floor by re-sealing worn sections before structural damage develops. Repairs may require frequent touch-ups over time in these zones, but each touch-up is a small repair compared to replacing the entire floor. Boards near exterior doors sometimes need full replacement if repeated moisture has caused deep damage.
Cost, Timing, and What Homeowners in Western MA Can Expect
Partial floor repairs are priced based on the number of boards replaced, total sanding and refinishing area, and difficulty of matching the existing floor. Massachusetts refinishing costs for a 600-square-foot main floor run roughly $4 to $12 per square foot as of early 2026, according to industry estimates. A three-board repair plus room refinish in a 150-square-foot dining room costs far less than a multi-room project after a dishwasher leak.
Typical timelines:
- Replacing one to five boards: half a day for removal, fitting, and nailing
- Sanding, staining, and applying two coats of protective finish: one to two additional days
- Light foot traffic on water based polyurethane: after about 24 hours. Full cure for furniture and area rugs: up to seven days. Each coat must dry completely before the next is applied, and the final coat needs the full cure period.
Logistical notes: move all furniture out of the room, plan around pets and children, and stay off freshly coated floors during cure time. Repairing and refinishing existing hardwood is almost always more affordable than tearing out and installing new hardwood or luxury vinyl across the entire floor plan. More extensive repairs covering a larger area will cost more, but still less than full replacement in most cases.
DIY vs. Professional Partial Hardwood Floor Repair
Handy homeowners can tackle very small repairs, but many wood floor repairs in older homes benefit from professional equipment and experience.
DIY-suitable tasks:
- Touching up small scratches with a repair kit
- Using a putty knife to apply wood filler in chips or dents in low-visibility spots
- Replacing a single board near a wall or in a closet
Projects better left to pros:
- Matching wood species and board width in floors over 60 years old
- Replacing multiple damaged boards in the center of a room
- Correcting cupping or addressing warped boards tied to moisture issues
- Blending stain and finish across an open-concept living and dining space
The risk of sanding through a thin floor in a 70-plus-year-old home is real; once you sand past the wear layer, the board is ruined. Mis-matching stain so the repaired spot stands out more than the original damage is another common DIY outcome.
Expert Flooring LLC offers free in-home estimates across Agawam, Springfield, Chicopee, Westfield, Longmeadow, and nearby towns. A consultation can clarify whether a small DIY fix is enough or whether a full professional repair process will produce a better result.
Preventing Future Damage After Your Partial Repair
A successful partial repair should be followed by better maintenance to prevent future damage and avoid repeating the same wood floor repairs.
Protect the surface:
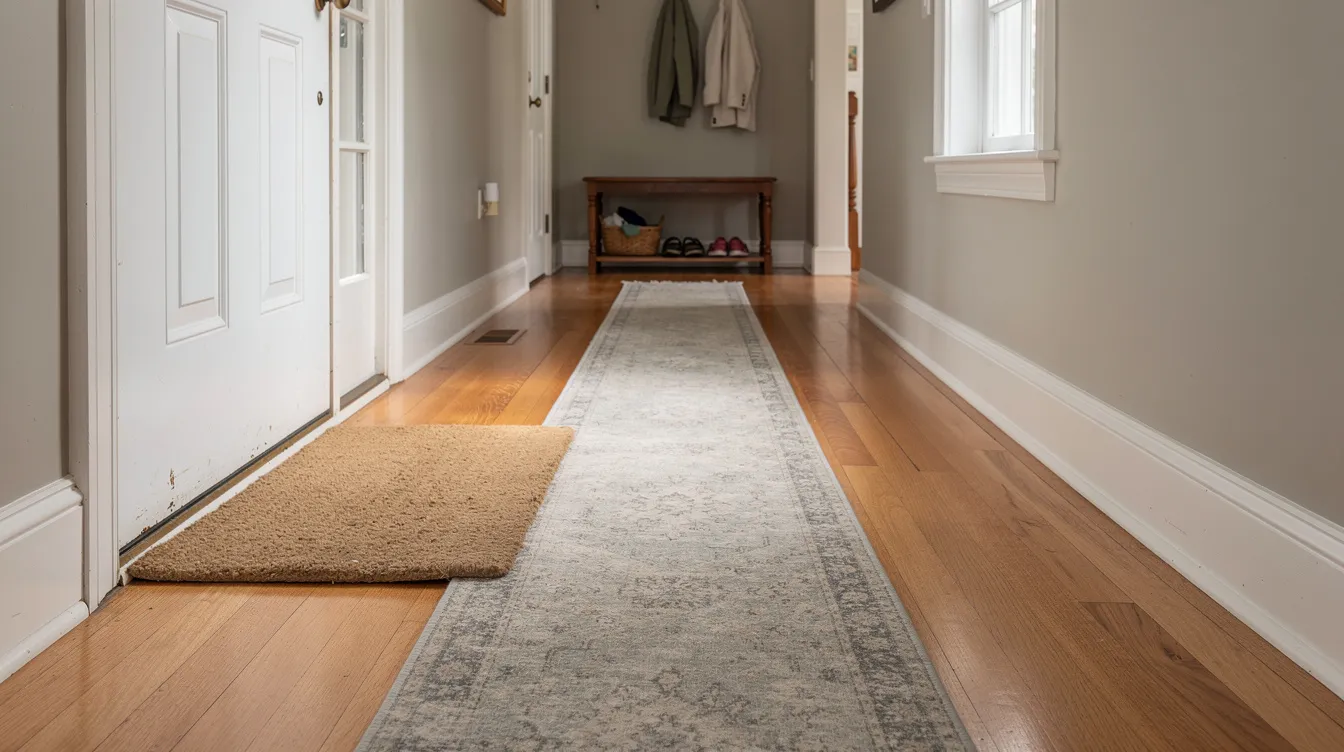
- Use area rugs and runners in high traffic areas. Regularly clean area rugs to maintain floor protection.
- Place doormats at exterior doors to capture dirt and sand before it reaches floors.
- Add felt pads under furniture legs to prevent scratches and dents.
- Keep pet nails trimmed.
Clean properly:
- Use a microfiber mop for regular cleaning to remove dirt without scratching the surface.
- Avoid wet mopping to prevent water damage; a damp mop wrung nearly dry is sufficient.
- Wipe spills immediately in kitchens and near bathrooms.
Control humidity:
- Maintain humidity levels with a humidifier in winter. Aim for 35% to 55% indoor relative humidity year-round to reduce seasonal gapping and cupping in wood floors.
Inspect regularly:
- Check around dishwashers, refrigerators, and washing machines every few months. A slow leak caught early needs a small repair; one caught late can require extensive repairs across the room.
If you notice new problem spots developing on your hardwood floors, catching them early keeps the repair small and affordable. Contact Expert Flooring LLC for a free estimate or maintenance advice anywhere in the Pioneer Valley.