

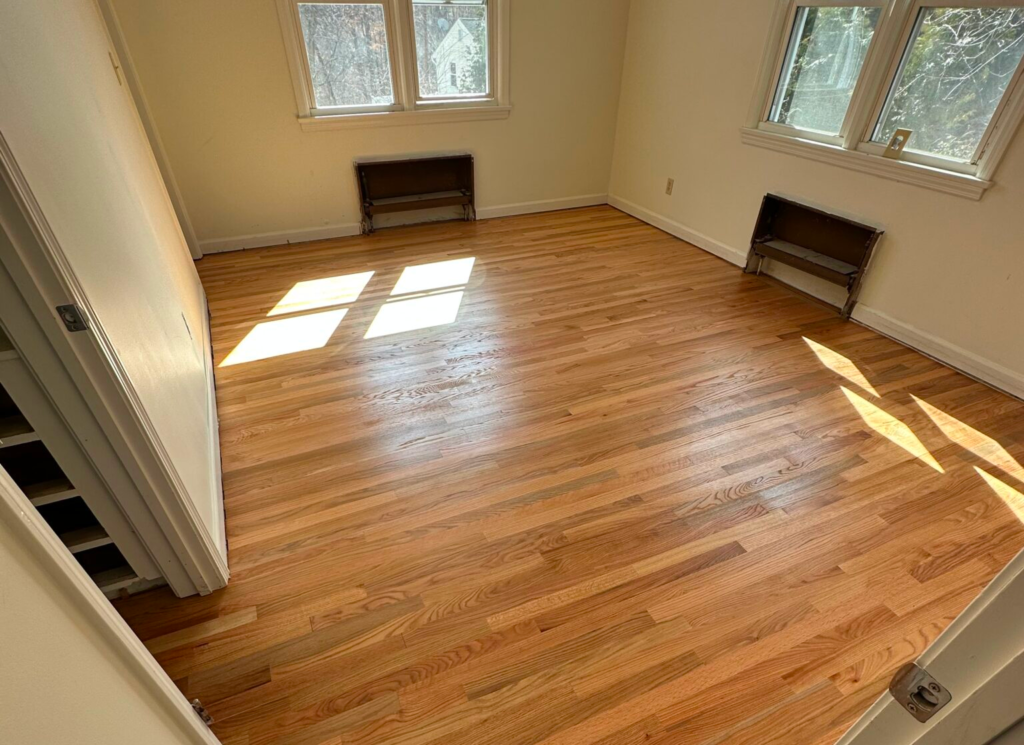
Hardwood floors are built to last decades, but they aren’t invincible. Over time, hardwood floors can suffer from scratches, dents, and water damage – whether from daily foot traffic, pet claws, dropped cookware, or a slow dishwasher leak nobody noticed for months. The approach to hardwood floor repair depends on the type of damage, and knowing the right steps can mean the difference between an invisible fix and an expensive mistake.
This comprehensive guide walks you through the entire hardwood floor repair process, from initial inspection to the final protective finish coat. You’ll learn when you can confidently handle wood floor repairs yourself and when calling a professional is the smarter move. Importantly, choosing to repair hardwood floors rather than ripping them out and starting over is almost always more affordable – and it preserves the character and warmth of your existing floor. Before any work begins, furniture and rugs must be removed from the area to give you full access to the damaged sections.
Expert Flooring LLC, based in Agawam, MA, specializes in hardwood floor repair and refinishing across Greater Springfield and the Pioneer Valley. Whether you’re tackling a weekend DIY project or need professional-grade restoration, this guide has you covered.
Step 1: Assessing Damage on Existing Hardwood Floors
Identifying the damage and wood type is the first step in hardwood floor repair. Walk each room slowly, looking and listening for problems. Surface-level issues include scratches and minor dents in hardwood floors – these are common in high traffic areas like hallways, kitchens, and foyers. Structural issues include deep gouges, buckling, rot, and broken planks, which require a very different approach.
Pay attention to these signs during your inspection:
- Scratches and scuffs – finish-only wear vs. cuts into raw wood
- Gaps between boards – seasonal movement vs. subfloor problems
- Cupping or crowning – edges raised or centers raised, indicating moisture imbalance
- Soft or spongy boards – press down; if they flex, suspect rot or water damage beneath
- Dark stains or musty odors – signs of water damage or mold
Water damage can cause hardwood floors to warp or buckle, so always inspect for mold after water damage to hardwood floors. The wood species and plank specifications must be determined for accurate repairs – red oak, white oak, maple, and pine all behave differently and require different fillers and stains.
Take photos and note approximate dates of any events (like “refrigerator line leaked in January”) to help trace the root cause and support insurance claims if needed.
Step 2: Decide Between DIY Touch-Ups and Professional Floor Repair
Some wood floor repairs are realistic weekend projects. Minor scratches can often be repaired with wood filler or simple refinishing techniques – a touch-up marker and a light buff can handle chair scuffs and doorway wear where the finish is dull but the wood isn’t exposed.
Localized repairs are often sufficient without having to sand the entire floor. But certain red flags mean you should call a professional:
- Deep gouges that expose raw wood fibers
- Warping, cupping, or buckling across multiple boards
- Active or past water intrusion with possible mold
- More than two or three damaged boards needing replacement
- Engineered flooring where sanding through the thin veneer is a real risk
Incorrect DIY work creates problems that cost more to fix than the original damage – poorly matched stain, lumpy filler, or visible seams in board replacement. Homeowners across Springfield, West Springfield, Chicopee, Holyoke, Westfield, Longmeadow, and nearby towns can schedule a free estimate with Expert Flooring LLC before starting any work.
Repairing Minor Surface Imperfections and Fine Scratches
This section covers light wear: surface scratches, heel marks, and shallow scuffs that haven’t cut through the floor’s finish. A clean area is essential for fixing minor scratches and dents in hardwood floors – residue trapped under a new finish coat will cause adhesion failure.
Start by using a vacuum to remove dirt and debris, then wipe with a hardwood-specific cleaner (no wax or oil-based soaps). Common hardwood floor repair techniques include sanding and refinishing, but for minor scratches you can often skip heavy equipment entirely.
For light scratches:
- Buff the area with a soft pad to smooth the surface
- Apply a manufacturer-approved touch-up marker or stain pen to camouflage the scratch
- For tiny nicks, use a putty knife to apply wood filler smoothly, then hand-sand once dry with 220-grit paper
After filling and sanding, spot-recoat with a compatible protective finish so the repair holds up in high traffic areas. Testing stains and finishes on an inconspicuous area is advisable before full application – especially on prefinished hardwood with micro-beveled edges, where blending color and sheen is trickier. Regular cleaning prevents dirt buildup and scratches going forward.
Dealing with Deep Gouges, Dents, and Localized Damage
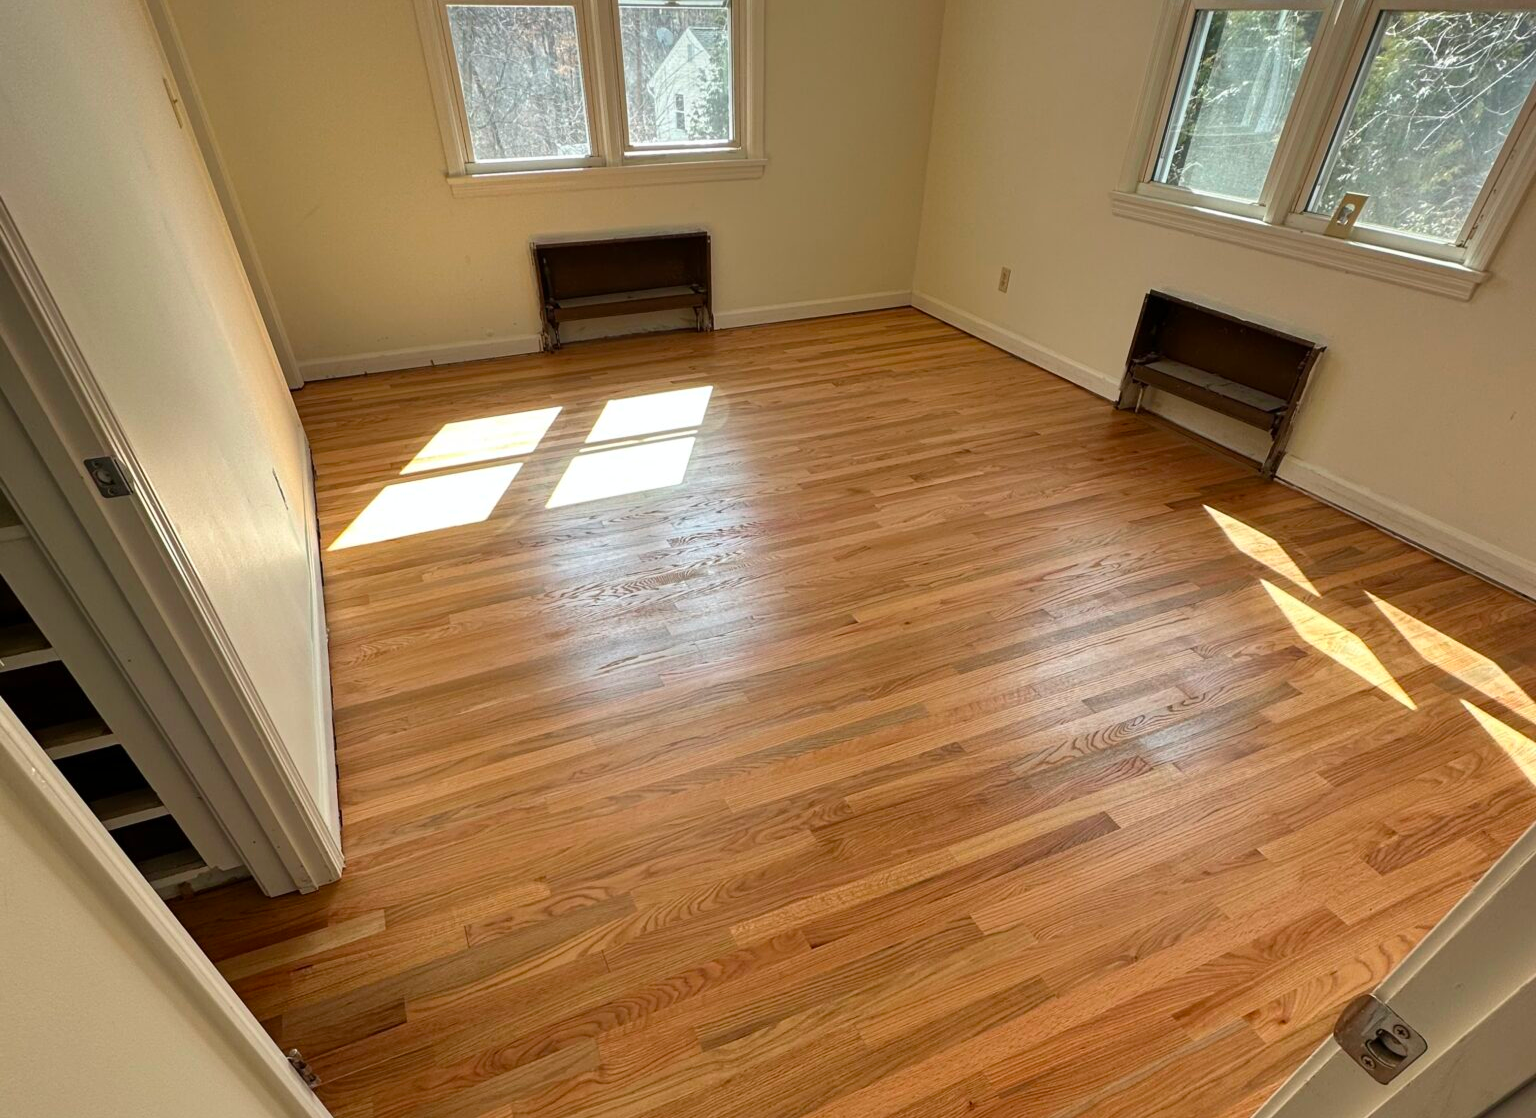
Deep gouges cut into the wood fiber itself – damage from dropped tools, heavy furniture legs, or aggressive pet claws that goes well beyond the finish layer. These require more extensive repairs than a touch-up pen can handle.
The repair process for deep gouges follows a careful sequence:
- Clean the damaged area and remove loose wood fibers and debris
- Choose a high-quality filler that matches the wood species – filling gouges requires choosing a filler that matches the wood species for an invisible result
- For very deep gouges, apply wood filler in layers, letting each layer dry completely before adding the next (epoxy glue can dry in as little as ten minutes, while standard fillers take longer)
- Sanding is necessary to level the repaired area – sand flush with the surrounding boards to create a smooth surface
After leveling, match the stain to the existing floor. Older floors darken with UV exposure, so the original color on a sample chip may look nothing like your floor today. Test on scrap wood first. Finish with a coat of protective finish – typically satin in living spaces – to restore durability and shine.
If there are many deep gouges across a room, it is usually more cost-effective to sand and refinish the entire floor rather than perform dozens of individual spot repairs.
Board Replacement: Removing and Installing Replacement Boards
Board replacement is necessary for severely damaged planks that cannot be repaired – cracked, badly warped, or deeply stained boards that no amount of filler or sanding will fix. When damage is too severe for spot repair, replacing the entire board is often the cleanest approach. Water-damaged floors may require complete board replacement as well.
Removal process:
A damaged board should be cut down the center lengthwise for replacement. A circular saw is used to cut damaged boards – set the blade depth to match the board thickness to protect the subfloor. A sharp chisel helps pop out cut pieces of wood, and a pry bar removes stubborn sections. Be careful to protect surrounding boards from accidental damage during tear-out.
Subfloor preparation:
Debris, old adhesive, or protruding nails must be cleared from the subfloor before installation of a new board. Check for moisture, levelness, and any signs of rot. Address the cause of damage – like an old plumbing leak – before installing anything new.
Installing the new board:
- Install a replacement board that matches the original width and thickness of the existing solid hardwood flooring
- The replacement board’s groove may need modification for a proper fit
- Wood glue should be applied to the tongue and grooves for proper installation; quality wood flooring adhesive may also be needed for securing the new board
- Drill pilot holes for finishing nails to secure new boards without splitting
- Epoxy or glue injection is used for stabilizing loose or squeaky boards in the surrounding floor
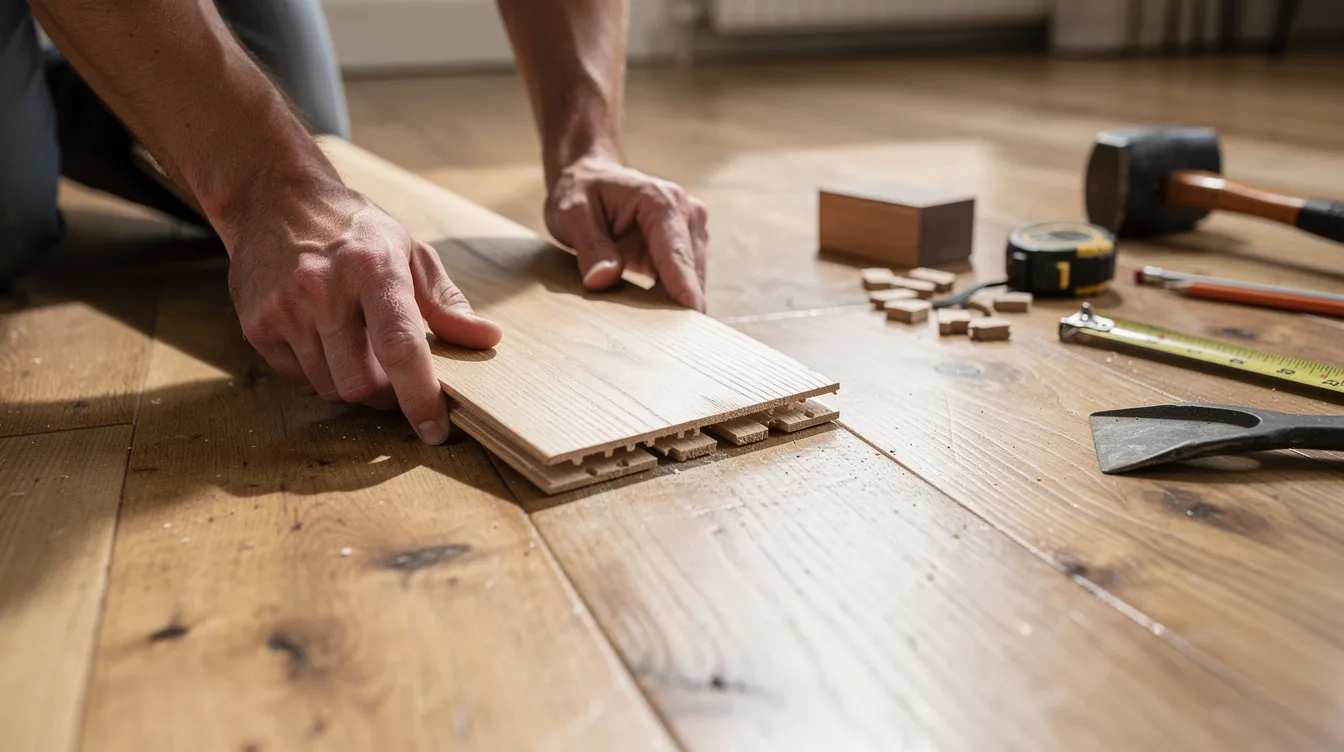
Once the new board is installed, sand the seams smooth so the planks sit flush with the rest of the floor. Careful fitting helps the replacement board seat cleanly into the existing floor.
Refinishing and Blending the Repaired Area with the Existing Floor
A successful hardwood floor repair doesn’t end with a new board in place. Sand the repaired area to create a uniform surface – or, for larger projects, sand the entire room to ensure a consistent result. Sanding and refinishing restores the floor’s original appearance and is the most reliable way to make repairs disappear.
When sanding floors, several grits should be used progressively for best results. A typical sanding progression includes various grit levels for effective refinishing – start around 36-40 grit for heavy removal, step through 60 and 80 grit, then finish at 100-120 grit. Use a tack cloth or vacuum between passes to remove dirt and fine dust.
Staining and finishing:
- Apply stain and finish to blend new boards with existing flooring – matching wood stain should be applied carefully, accounting for the aged patina of the surrounding floor
- Refinishing involves sanding, staining, and applying a protective finish – typically two to three coats of water-based polyurethane for Western MA homes due to quick dry times and low odor
- Feather the finish into the surrounding boards so the transition is seamless
- A full refinishing ensures a consistent finish across the floor when spot blending isn’t enough
Sealing off the workspace with plastic sheeting helps contain sawdust during repairs. Professional dust containment systems – like those used by Expert Flooring LLC – keep sanding dust from spreading throughout the home.
Special Situations: Water Damage, Warping, and High-Traffic Wear
Moisture is the most serious threat to hardwood floors in Western Massachusetts, where humid summers and cold winters with snow melt create constant expansion and contraction cycles. Common water-damage scenarios include dishwasher leaks, refrigerator line failures, bathroom overflows, and basement humidity creeping into first-floor joists.
The water damage repair sequence:
- Stop the water source immediately
- Dry the affected area thoroughly using fans and dehumidifiers – this can take days or weeks
- Evaluate the subfloor for mold, rot, or structural compromise
- Replace damaged boards and refinish once moisture levels stabilize (6-9% for solid hardwood)
For heavy wear in high traffic areas like entryways and stairs – where the finish is worn through and grey wood fibers are visible – partial or full refinishing restores a strong protective finish and brings back the floor’s former glory.
To prevent future damage after repairs:
- Use doormats to capture dirt before it reaches floors
- Humidity control prevents wood from shrinking or expanding – maintain 35-55% indoor RH
- Avoid wet mopping to prevent moisture damage
- Trim pet nails to reduce scratches on hardwood floors
- Add felt pads under furniture legs

Costs, Timelines, and When to Call Expert Flooring LLC
Homeowners want to know what floor repair costs and how long it takes. While every project is different, here are general ranges:
| Repair Type | Typical Timeline | Approximate Cost Range |
|---|---|---|
| Minor scratch/dent repair | 1 day | $150–$350 |
| 2–3 board replacement + spot refinish | 1–2 days | $600–$1,200 |
| Full room sand & refinish (200-300 sq ft) | 2–4 days | $800–$2,000 |
| Water damage with subfloor work | 3–5+ days | $2,000–$4,000+ |
Having the right tools, materials, and experience makes a measurable difference in quality and timeline. Clear triggers to call a professional include widespread deep gouges, multiple damaged boards, water or mold issues, or if your home has valuable historic hardwood worth preserving with care.
Expert Flooring LLC offers free, no-obligation estimates in Agawam (18 Cottage St) and surrounding communities including Springfield, Holyoke, Westfield, East Longmeadow, Southwick, and Enfield, CT.
Don’t let damaged hardwood sit – early intervention prevents costly full replacements. Schedule your free estimate today and get a customized repair plan to restore your hardwood floors to good condition.